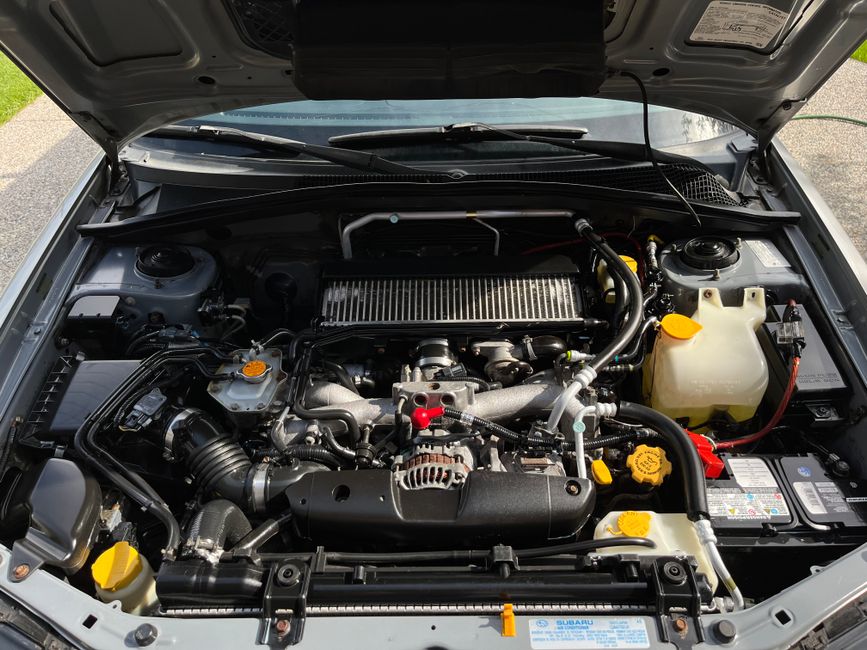
Understanding the Role of Coolant Replacement
Coolant, often called antifreeze, transfers heat from the combustion chambers to the radiator and prevents freezing in cold climates. Its dual function—heat exchange and corrosion inhibition—means a degraded mixture can cause localized overheating or rust‑induced blockages, both of which shorten engine life.
Selecting the Correct Coolant
Modern vehicles use either organic acid technology (OAT), hybrid organic acid technology (HOAT), or traditional silicate‑based formulations. The manufacturer’s service manual lists the exact specification, such as "Dex‑Cool 5W‑30" for many GM models or "Toyota Super Long Life Coolant" for recent Japanese engines. Mixing incompatible types creates precipitation that clogs passages. When in doubt, purchase a brand‑specific bottle rather than a generic green ethylene‑glycol mix.
Gathering Tools and Safety Gear
Required items include a drain pan sized for at least 2 liters, a funnel with a fine mesh screen, a torque wrench, and a set of metric sockets. Wear chemical‑resistant gloves and eye protection because hot coolant can cause severe burns and contains toxic additives. Keep a fire‑extinguishing blanket nearby in case of accidental spillage onto hot engine parts.
Preparing the Vehicle
Cool the Engine
Allow the engine to reach ambient temperature; a hot system can retain pressure, leading to sudden eruptions when the drain plug is removed. After parking on a level surface, disconnect the negative battery terminal to avoid accidental short circuits while working near the thermostat housing.
Locate Drain Points
Most cars have a lower radiator hose with a threaded plug or a dedicated drain valve at the engine block. Consult the vehicle’s repair guide for the exact location; some European models hide the valve behind a plastic cover that must be pried open.
Flushing the Old Coolant
Open the drain plug and let the coolant flow into the pan until the stream becomes clear. For a thorough cleanse, close the plug, fill the system with distilled water, and run the engine for five minutes at idle. This circulates water through the heater core and the radiator, loosening residues. Repeat the drain‑fill cycle until the runoff is virtually colorless. Skipping the water flush can leave behind silicate crystals that later appear as sludge.
Refilling and Bleeding the System
Correct Fill Ratio
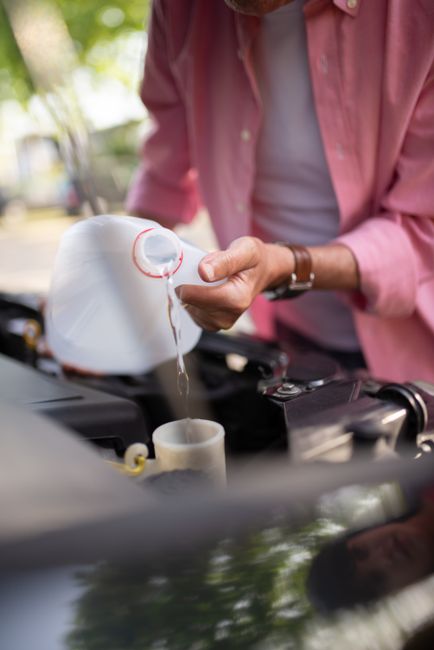
Mix the purchased coolant with distilled water at the ratio specified on the label—commonly 50:50 for temperatures between –30 °C and 105 °C. Using tap water reintroduces minerals that accelerate corrosion.
Bleeding Air Bubbles
Air pockets impede circulation and trigger false temperature spikes. After filling, open the thermostat housing or the bleed valve (if equipped) while the engine runs at operating temperature. Watch the coolant level rise; add more as needed to maintain the “max” mark on the reservoir. Some manufacturers recommend a “burping” procedure: crank the engine for 30 seconds, shut it off, then repeat three times.
Verifying the Job
Monitor the temperature gauge for at least 15 minutes after the first drive. A steady reading within the normal range confirms proper flow. Inspect for leaks around the radiator, hose clamps, and water pump shaft seal. Tightening bolts to the manufacturer‑specified torque (often 22 Nm for radiator clamps) prevents loosening caused by thermal expansion.
Disposal and Environmental Responsibility
Coolant contains ethylene glycol, a substance toxic to humans and wildlife. Transfer the drained fluid into a sealed container labeled “Coolant – hazardous waste.” Many auto parts stores accept it for recycling; never pour it down a drain or onto the ground. Cleaning tools with a solution of water and a mild detergent removes residual chemicals before reuse.
Common Pitfalls Newcomers Overlook
- Using a mixture that is too concentrated, which raises the boiling point but lowers the freezing point beyond necessity.
- Neglecting the heater core; a clogged core reduces cabin heating and forces the thermostat to stay open longer, stressing the water pump.
- Re‑installing the radiator cap before the system is fully pressurized, leading to premature venting of coolant.
- Skipping the torque step on hose clamps, resulting in slow leaks that are hard to detect until overheating occurs.
When to Seek Professional Help
If the vehicle exhibits persistent overheating after a flawless DIY replacement, the issue may stem from a failing thermostat, a collapsed radiator, or an air‑locked water pump. Diagnosing these problems often requires a pressure tester and infrared temperature mapping—tools most hobbyists lack. In such cases, a certified mechanic can pinpoint the fault without risking further damage.

Comments (0)
No comments yet. Be the first to comment!
Leave a Comment