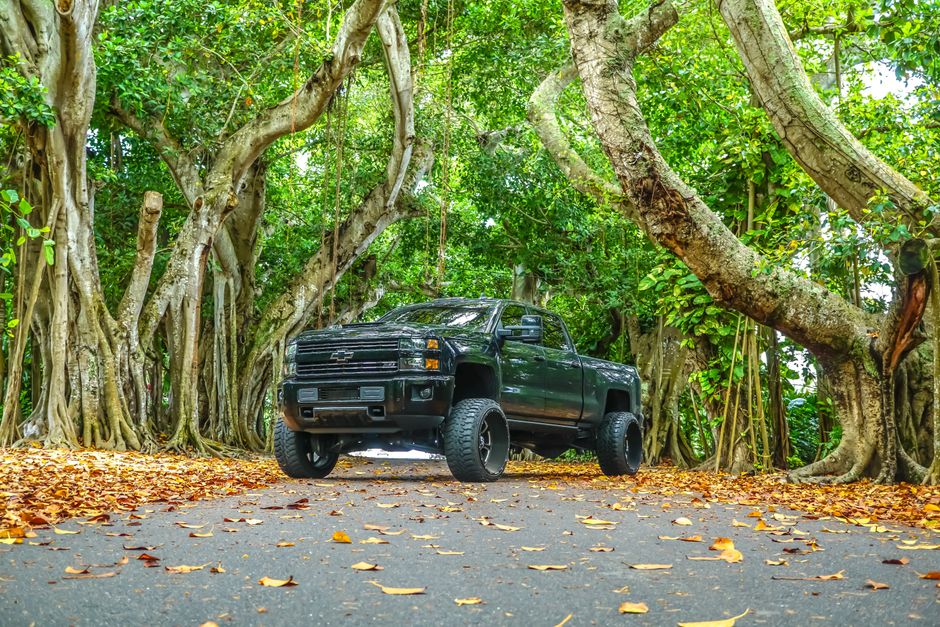
Why a Lift Kit Matters for the Silverado 1500
Installing a suspension lift on a Chevrolet Silverado 1500 changes more than ground clearance. It reshapes the vehicle’s geometry, alters tire wear patterns, and influences handling at highway speeds. Understanding these trade‑offs prevents the common surprise of a softer ride after a lift or premature axle failures.
Key Parameters Before You Start Comparing
Every kit on the market targets a different blend of lift height, load capacity, and intended use. The three metrics that separate a well‑engineered solution from a marketing gimmick are:
- Maximum lift vs. spring rate: A 4‑inch kit paired with overly soft springs will sag under a full payload, while a 2‑inch kit with stiff springs can feel harsh.
- Control‑arm length and angle: Longer arms correct front‑end angle after a lift, preserving steering precision.
- Compatibility with factory components: Some kits require upgraded shocks, steering stabilizers, or new brake lines to maintain OEM‑grade safety.
Documenting your daily load—whether you haul a trailer, a toolbox, or nothing at all—clarifies which parameter deserves the most attention.
Top Three Kits for 2024 Model Years
1. Rough Country 4‑Inch Lift Kit (Part Number 1500‑4‑RC)
Rough Country balances price and performance. The kit includes 2.5‑inch front coil‑over shocks, 2‑inch rear leaf‑spring spacers, and front control‑arm brackets that preserve the steering rack’s original angle. With a rated load of 2,200 lb, the kit sustains the Silverado’s maximum payload without sag.
- Pros: Straight‑forward bolt‑on installation, solid warranty (5 years), and a proven track record in off‑road forums.
- Cons: Front shocks may feel a touch firm on rough pavement; aftermarket sway bar may be needed for aggressive cornering.
Installation typically takes 6–8 hours for a DIY mechanic with basic hand tools. The most common snag is aligning the rear leaf‑spring brackets; a torque wrench set to 45 Nm eliminates the issue.
2. Fabtech 2‑Inch Lift Kit (Part Number 1500‑2‑FT)
Fabtech’s approach targets drivers who prioritize ride comfort. The kit replaces the front coil springs with progressive-rate units that compress gently under light loads but stiffen as weight increases. Rear components consist of a single‑piece spacer that maintains the factory leaf‑spring geometry.
- Pros: Noticeably smoother ride at highway speeds, minimal impact on fuel economy, and included front stabilizer bar.
- Cons: Lower lift height limits tire diameter to 33 inches, which may not satisfy serious off‑roaders.
Most installers report a 4‑hour job, thanks to pre‑drilled holes and a comprehensive installation guide. The only pitfall is the need to recalibrate the speedometer after changing the overall tire diameter.
3. BDS Suspension 6‑Inch Lift Kit (Part Number 1500‑6‑BDS)
BDS pushes the envelope for maximum clearance. The kit incorporates custom‑length control arms, upgraded 3‑inch front shocks, and a rear leaf‑spring replacement that adds 6 inches of lift while preserving a 40,000‑lb Gross Vehicle Weight Rating (GVWR). The package also supplies a front‑end steering stabilizer and a drop‑center axle kit for the rear.
- Pros: Enables 35‑inch tires, retains factory payload, and includes a comprehensive warranty (3 years, unlimited miles).
- Cons: Higher cost, requires professional alignment, and may demand brake‑line extensions for larger wheels.
Professional installation averages 12 hours, including alignment and brake‑line work. Users who skip the alignment often experience uneven tire wear within the first 2,000 miles.
Installation Blueprint for the Average DIYer
Regardless of the kit you choose, follow this sequence to avoid re‑work:
- Raise the vehicle with a full‑size hydraulic lift; never rely solely on jack stands for the duration of the job.
- Remove existing springs, shocks, and any mounting brackets that will be replaced.
- Inspect control‑arm bushings for wear; replace them now to prevent future alignment drift.
- Install the new lift components exactly as the manufacturer specifies torque values.
- Re‑assemble the suspension, then perform a full chassis alignment using a digital alignment rack.
- Test drive on a smooth surface, listening for clunks and checking for uneven ride height.
Document each torque setting with a pen‑marked torque wrench; many novices lose track and overtighten later bolts, causing stress fractures.
Common Mistakes and How to Avoid Them
First‑time lifters often overlook the interplay between lift height and steering geometry. A 4‑inch lift without corresponding front control‑arm extensions will tilt the steering knuckle, leading to excessive tire scrub during turns. The remedy is to install the supplied control‑arm brackets or purchase aftermarket extensions calibrated for the lift height.
Another frequent error is neglecting to upgrade the brake‑line fittings when moving to larger wheels. Standard steel lines can kink under the increased bend radius, resulting in reduced brake pressure. Routing new lines with a flexible stainless‑steel braid eliminates this risk.
Maintaining the Lift Kit Over Time
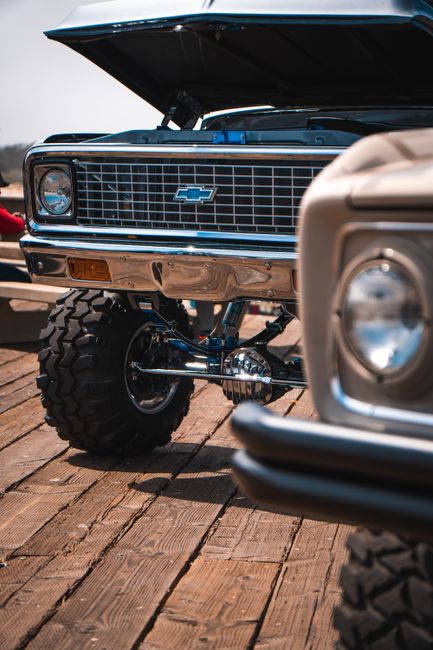
After the first 500 miles, inspect every bolt for torque loss. Lift kits introduce additional stress points, and vibration can loosen fasteners faster than on stock suspension. Lubricate ball‑joint grease fittings quarterly, and replace shock absorbers if you notice a decline in damping performance.
Seasonal temperature swings affect rubber bushings; in colder climates, a polyurethane bushing upgrade can prevent cracking while preserving a comfortable ride.
Final Recommendation Based on Use‑Case
If your primary goal is modest off‑road capability with a budget under $1,500, the Rough Country 4‑inch kit offers the best blend of durability and ease of install. For drivers who cherish a plush ride on the highway and rarely exceed 2,000 lb of cargo, the Fabtech 2‑inch kit delivers comfort without sacrificing OEM handling.
Professionals who need to clear rocks, mud, or deep snow should consider the BDS Suspension 6‑inch kit despite its higher price tag; the ability to mount 35‑inch tires outweighs the added complexity for serious off‑road enthusiasts.
Whichever kit you select, pairing it with a proper alignment and periodic torque checks guarantees that the Silverado 1500 remains safe, capable, and enjoyable for years to come.

Comments (0)
No comments yet. Be the first to comment!
Leave a Comment