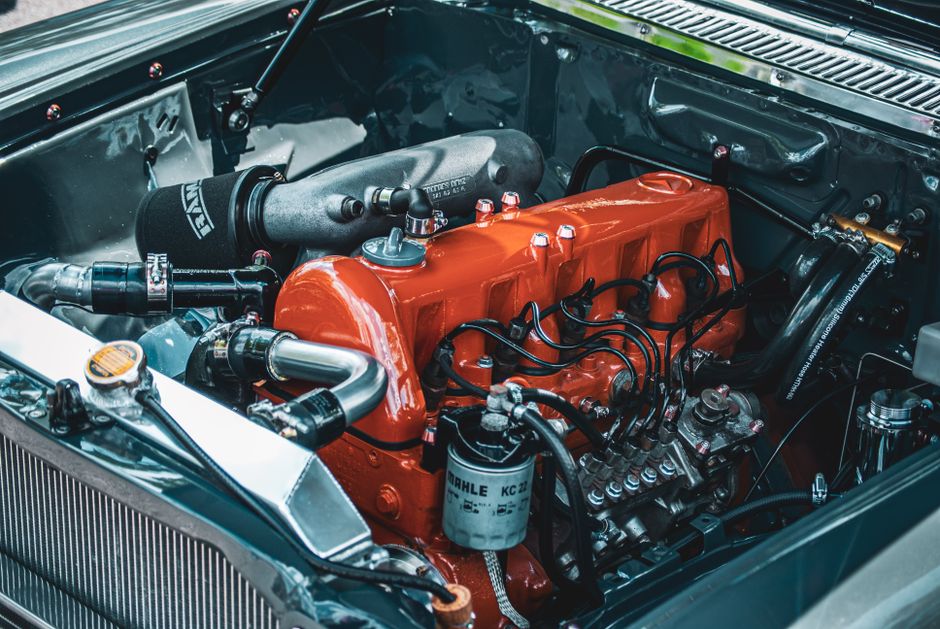
Why "spark plug replacement" matters beyond mileage intervals
Most drivers treat spark plugs like oil filters—swap them on schedule and forget. In reality, each plug influences combustion efficiency, emissions, and engine longevity. Recognizing the subtle cues that a plug is failing lets you intervene before misfires, fuel spikes, or costly valve damage occur.
Diagnosing the right moment for replacement
Four diagnostic pillars guide the decision:
- Electrical resistance: A healthy plug measures 0.5–2 Ω for copper, 3–6 Ω for iridium, and up to 12 Ω for platinum. Significant deviation signals electrode wear.
- Gap wear: Factory gaps range from 0.030 to 0.060 inches. If visual inspection shows a gap narrowed by more than 20 %, the electrodes have eroded.
- Engine symptoms: Rough idle, hesitation during acceleration, or a drop in fuel economy often trace back to incomplete ignition.
- Service history: High‑performance engines (e.g., 2.0 L turbo) typically need replacement every 15‑20 k mi, while standard commuter engines stretch to 60 k mi.
Combine these data points rather than relying on a single metric; the intersection of electrical, mechanical, and operational signs yields the most reliable timing.
Choosing the correct plug for your engine
Material choice directly affects lifespan and heat tolerance:
- Nickel‑alloy plugs: Economical, suitable for low‑output engines, but degrade faster under high load.
- Iridium plugs: Fine‑wire electrodes maintain a tight gap longer, ideal for engines above 200 hp.
- Platinum plugs: Provide a middle ground, often specified for diesel‑gasoline hybrids.
Match the plug’s heat range (e.g., “5” for medium‑heat) to the manufacturer’s recommendation. Over‑heating plugs can cause pre‑ignition, while a too‑cold plug may foul with carbon deposits.
Essential tools and preparation steps
Before lifting the hood, gather these items:
- Torque wrench calibrated to 8–12 lb‑ft (depending on plug size).
- Plug gap gauge with metric and imperial measurements.
- Dielectric grease to coat the threads—prevents seizing and improves heat transfer.
- Anti‑static wrist strap when working on modern fuel‑injected systems.
Disconnect the battery to avoid accidental ignition of residual fuel vapors. If the engine is hot, allow a 15‑minute cool‑down; thermal expansion can distort thread pitch and cause cross‑threading.
Step‑by‑step replacement procedure
1. Access the plug
Remove any obstructing components—air intake ducts, coil packs, or ignition wires—using the appropriate socket sizes (usually 5/8" or 13 mm). Keep track of the order to simplify reassembly.
2. Extract the old plug
Apply steady torque counter‑clockwise. If resistance spikes, lightly tap the socket with a rubber mallet; this can break corrosion bonds without damaging the cylinder head.
3. Inspect and clean
Check the combustion chamber for carbon deposits or oil fouling. A thin layer of carbon is normal; thick, black buildup indicates a deeper issue that replacement alone won’t solve.
4. Set the new gap
Using the gauge, adjust the electrode tip until the specified gap is achieved. For iridium plugs, a gap of 0.028–0.032 inches is typical; over‑gapping reduces spark intensity.
5. Apply dielectric grease
Spread a pea‑sized amount on the plug threads. This step is often omitted but prevents galling and aids future removal.
6. Install and torque
Hand‑tighten the plug until resistance is felt, then apply the torque wrench to the manufacturer’s spec (usually 9 lb‑ft for 14 mm plugs). Over‑torquing can crack the ceramic insulator.
7. Reconnect ignition components
Replace coil packs or spark‑plug wires in the reverse order of removal. Verify that each wire clicks firmly onto the terminal.
8. Final check
Reconnect the battery, start the engine, and listen for a smooth idle. If misfires persist, re‑examine the gap and ensure the spark plug wires are not aged.
Common mistakes and how to avoid them
- Skipping the gap check: Even factory‑set plugs can shift during transport. A mis‑gapped plug reduces spark voltage by up to 30 %.
- Using the wrong torque: A torque wrench set too high can crush the porcelain insulator; too low allows the plug to loosen under vibration.
- Re‑using old wires: Conductive degradation in spark‑plug wires causes voltage drop, mimicking a plug failure.
- Cross‑threading the plug: Threads damaged during insertion can lead to coolant leaks in water‑cooled engines.
- Ignoring heat range: Selecting a plug outside the specified range can cause pre‑ignition or fouling, especially under boost pressure.
Each error introduces a hidden cost—either premature wear or a return trip to the garage.
When replacement isn’t enough
If after a fresh set the engine still exhibits symptoms, investigate upstream causes:
- Fuel injector leakage can flood the cylinder, making plugs appear fouled.
- Valve‑clearance misadjustment leads to compression loss, reducing spark effectiveness.
- ECU misfires due to sensor faults (e.g., crankshaft position sensor) may mask as plug issues.
Understanding the hierarchy of ignition problems saves time and money, turning a routine spark‑plug change into a diagnostic stepping stone.
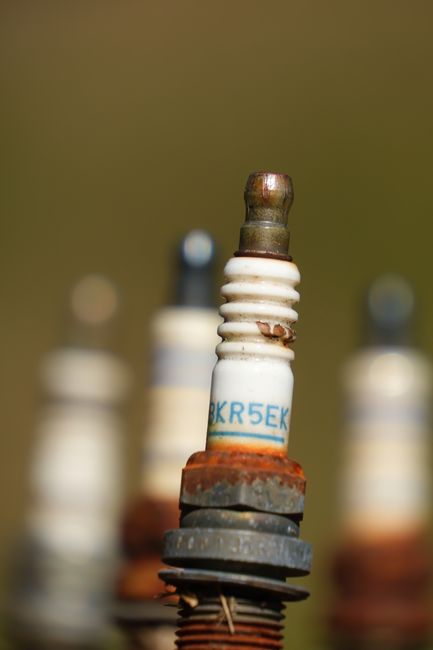
Maintenance schedule for different vehicle classes
| Vehicle type | Recommended interval | Typical plug type |
|---|---|---|
| Compact gasoline (1.0‑1.5 L) | 30,000–45,000 mi | Nickel‑alloy |
| Mid‑size turbocharged (1.6‑2.5 L) | 15,000–25,000 mi | Iridium |
| Performance sports (≥3.0 L) | 10,000–15,000 mi | Iridium or Platinum |
| Diesel (≥2.0 L) | 40,000–60,000 mi | Platinum |
These figures assume normal driving conditions; severe towing, high‑altitude operation, or frequent short trips accelerate wear.
Final checklist before closing the hood
- All plugs torqued to spec.
- Gaps verified with gauge.
- Ignition wires seated securely.
- No tools left in the engine bay.
- Battery reconnected and voltage checked.
Following this list turns a potentially messy job into a repeatable, confidence‑building routine.

Comments (0)
No comments yet. Be the first to comment!
Leave a Comment