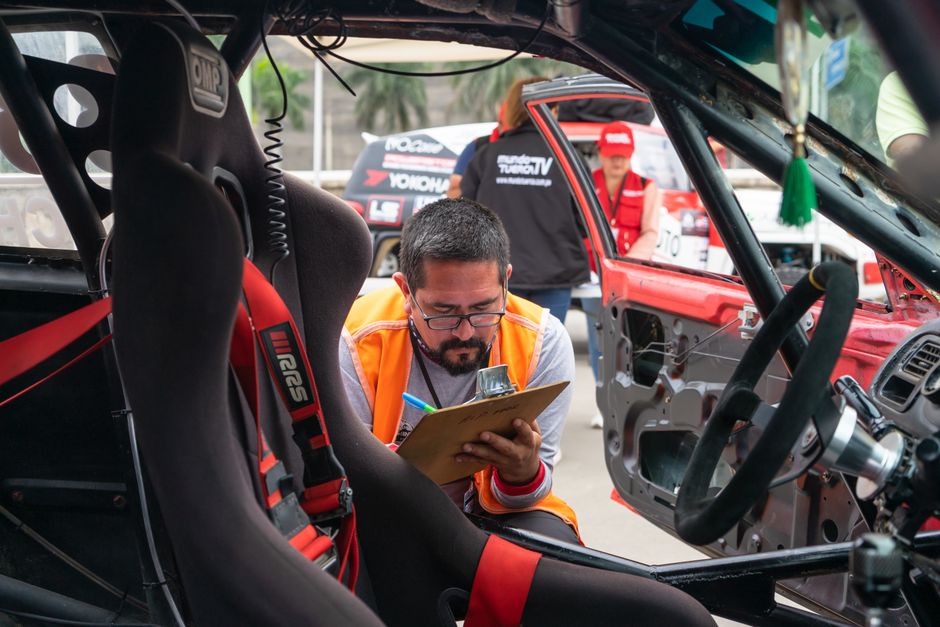
Why a Structured Checklist Beats Random Checks
When a vehicle sits idle for weeks, hidden wear can emerge unnoticed. A methodical approach forces the driver to confront every subsystem, reducing the chance that a faulty brake line or a cracked windshield goes undetected until failure. By translating the inspection process into a repeatable list, the driver creates a mental map of the car’s health, making future diagnostics faster and more accurate.
Core Mechanical Items
Engine Oil and Filter Condition
Pull the dipstick, wipe clean, reinsert, and read the level against the calibrated marks. Oil should sit between the "Min" and "Max" lines, with a viscosity matching the manufacturer’s recommendation (e.g., 5W‑30 for most 2020‑2023 sedans). A dark, gritty appearance signals overdue change. Replace the filter if it shows more than 10% of its surface covered in sludge.
Cooling System Integrity
Inspect the radiator hoses for swelling, cracks, or hard spots. A hose that feels spongy may burst under pressure. Verify coolant concentration (typically 50/50 ethylene‑glycol to water) by measuring the temperature at the radiator’s outlet; a reading above 95 °C under idle suggests a stuck thermostat.
Transmission Fluid Check
For automatic transmissions, the fluid should be a translucent reddish‑amber and free of burnt odor. Use the transmission dipstick (if equipped) to confirm the level within the "Cold" and "Hot" marks after a short drive. Manual gearboxes lack a dipstick, so a quick visual inspection of the fill plug can reveal leaks.
Drive Belt Tension and Condition
Press the serpentine belt midway between two pulleys; it should deflect about 1 cm. Cracks, fraying, or glazing indicate imminent failure. Replace the belt before the manufacturer’s mileage limit (often 60,000 km) if any of these signs appear.
Suspension and Steering Components
Push down on each corner of the car; excessive bounce (>0.5 seconds) signals worn shocks or struts. Examine ball joints, tie‑rod ends, and control arm bushings for play by moving the wheel at the 12‑o’clock position. Any clunking or knocking during a short test drive should be logged for professional assessment.
Electrical and Electronic Systems
Battery Health
Measure open‑circuit voltage with a multimeter; a fully charged lead‑acid battery reads 12.6 V. Load test the battery by turning on the headlights for two minutes; voltage should not drop below 12.0 V. Corroded terminals need cleaning with a wire brush and a thin layer of dielectric grease.
Lights and Signals
Activate each external lamp—headlights (high and low), turn signals, brake lights, reverse lights, and fog lamps. Verify brightness against a reference vehicle or a photometer; dim bulbs often stem from aging filaments or voltage drops caused by corroded connectors.
Diagnostic Trouble Codes (DTCs)
Connect an OBD‑II scanner and note any pending or stored codes. Even if the check‑engine light is off, a code like P0420 (catalyst efficiency below threshold) can indicate emissions issues that will affect future inspections.
Infotainment and Navigation
Test touchscreen responsiveness, Bluetooth pairing, and GPS lock. Software glitches can be mitigated by updating firmware to the latest version released by the manufacturer.
Safety Equipment
Brake System Performance
Perform a static brake test: press the pedal firmly; it should feel firm and travel no more than 150 mm before the biting point. Then conduct a dynamic test on a safe stretch of road, applying moderate pressure to each wheel. Listen for squeal (indicating worn pads) and feel for pull (suggesting uneven disc wear).
Airbag Indicator Lights
After turning the ignition on, watch for the airbag warning light to illuminate and then extinguish within three seconds. A lingering light points to a sensor fault or a damaged module, both of which require specialist tools to reset.
Seatbelts and Adjusters
Pull each belt sharply; it should retract smoothly without jerking. Examine the webbing for fraying or cuts, and ensure the latch mechanism clicks securely. Replace any belt that shows more than 10% abrasion.
Emergency Tools
Confirm the presence and condition of the spare tire, jack, and lug wrench. Verify the spare’s pressure (usually 30–35 psi for a temporary tire) and inspect the jack for rust or bent components that could impede lifting.
Emissions and Regulatory Compliance
Exhaust Smoke Color
Start the engine cold and observe the tailpipe. A thin blue plume indicates oil burning; black smoke signals a rich fuel mixture; white vapor that persists may denote coolant leakage. Each condition demands a different corrective action.
On‑Board Emissions Test
Using the OBD‑II interface, read the fuel trim values. Short‑term fuel trim outside the –10% to +10% range suggests a sensor fault or a vacuum leak that will fail a formal emissions test.
Local Inspection Requirements
In many jurisdictions, a vehicle must pass a visual inspection of lights, brakes, and emissions every two years. Keep a copy of the most recent certificate handy; failure to present it can result in a fine or a denial of registration renewal.
Season‑Specific Considerations
Winter Preparation
Swap to winter‑rated tires with a tread depth of at least 4 mm. Test the battery’s capacity in sub‑zero temperatures; a drop below 10 Ah at 0 °C indicates a need for replacement. Verify that the antifreeze concentration stays at 50% to prevent freezing.
Summer Heat Checks
Inspect the coolant reservoir for signs of boiling or overflow after a short highway drive. Ensure the air‑conditioning compressor engages smoothly; a slipping belt can cause premature wear under high‑temperature loads.
Common Pitfalls and How to Avoid Them
- Skipping the visual inspection of under‑carriage rust. Even a thin layer of corrosion can compromise structural integrity over time.
- Relying solely on the vehicle’s service‑light reminders. Sensors can fail silently, leaving critical wear unchecked.
- Using the wrong torque specification for wheel lug nuts. Over‑tightening can strip threads; under‑tightening can lead to wheel loss.
- Neglecting to reset the service interval after a major repair. The car’s computer will continue to flag a pending maintenance task, causing unnecessary alarm.
DIY vs Professional Inspection
Performing the checklist yourself saves time and builds familiarity with the car’s quirks. However, a professional garage possesses calibrated equipment—such as a brake dynamometer and exhaust gas analyzer—that can uncover hidden defects. A hybrid approach, where the owner handles the visual and functional checks and then brings the vehicle in for a pressure test or alignment, yields the most comprehensive result.

Maintaining Your Own Checklist
Store the checklist in a durable notebook or a cloud‑based note app. After each inspection, strike out items that pass and annotate any anomalies with date, mileage, and corrective action taken. Over time, the log becomes a diagnostic baseline, allowing you to spot trends—like gradually increasing brake pedal travel—that signal impending component replacement.
Putting It All Together
Integrating the mechanical, electrical, safety, and emissions items into a single workflow prevents duplicated effort. Begin with exterior visual checks, move to fluid levels, then proceed to functional tests of brakes and steering, followed by electrical diagnostics, and finish with a road‑test verification. This order mirrors the natural flow of a test drive, ensuring that any issue discovered early can be retested after remedial action.
Final Thoughts
Adopting a thorough car inspection checklist transforms a routine maintenance task into a proactive safety strategy. By understanding the rationale behind each step, the driver can anticipate problems before they become costly repairs, maintain compliance with local regulations, and enjoy confidence behind the wheel regardless of season or mileage.

Comments (0)
No comments yet. Be the first to comment!
Leave a Comment