Understanding the Chemistry Behind Headlight Cloudiness
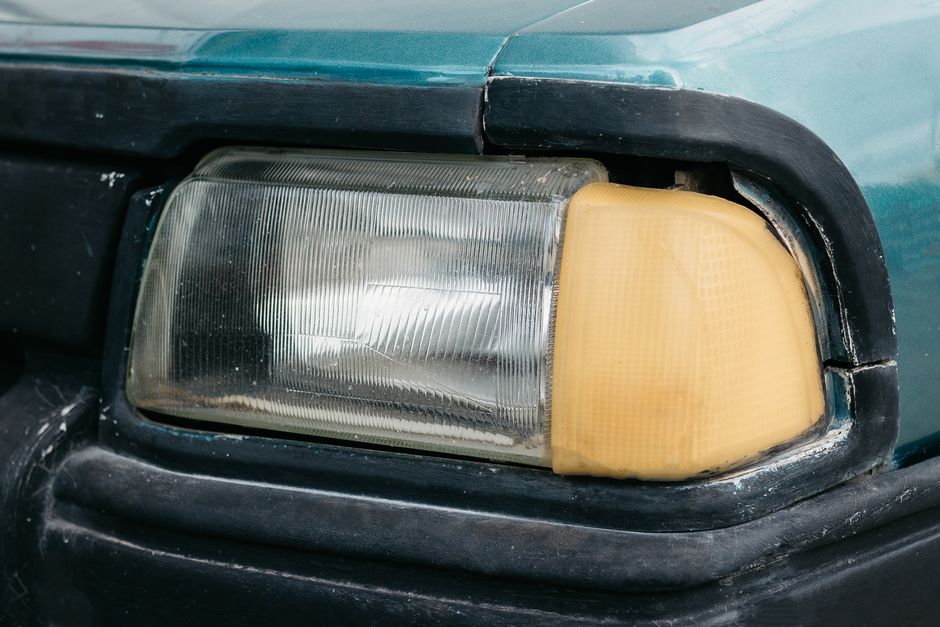
Polycarbonate lenses absorb ultraviolet radiation, causing a thin layer of oxidized polymer to form on the surface. Over months, this layer darkens, scatters light, and reduces illumination range. The process differs from simple dirt buildup; it is a chemical reaction that creates a micro‑abrasive film, which standard car‑wash detergents cannot remove.
Diagnosing When Restoration Is Needed
Before committing to any restoration method, evaluate the lens for three criteria:
- Transparency loss greater than 30 % when compared to a new headlight (use a flashlight behind the lens to gauge).
- Visible yellow or brown haze that does not disappear after wiping with a microfiber cloth.
- Cracks or chips larger than 2 mm, which indicate structural damage rather than surface oxidation.
If all three points are met, the headlight is a candidate for restoration rather than replacement.
DIY Headlight Restoration: Materials and Safety Precautions
Successful home restoration hinges on using the right abrasives and protecting surrounding paint. Assemble the following tools:
- Masking tape – to isolate the lens from the car’s body.
- Fine‑grade sanding pads (800, 1500, and 2000 grit) – each grit removes the previous layer without deep scratching.
- Plastic polish (e.g., a two‑component polyurethane or acrylic based formula).
- Microfiber towels – for wiping and final buffing.
- Safety glasses and nitrile gloves – to guard eyes and skin from fine particles.
Begin by taping the perimeter, then wet‑sand the lens with the 800‑grit pad in a figure‑eight motion for two minutes. Rinse, repeat with 1500‑grit, and finish with 2000‑grit. The surface should feel uniformly smooth, not gritty. Apply polish according to the manufacturer’s instructions, typically a thin layer spread with a foam applicator, then buff with a clean microfiber towel until the lens gleams.
Common Pitfalls and How to Avoid Them
Many first‑time restorers experience setbacks that can be prevented with a few disciplined practices:
- Over‑sanding: Using grit finer than 2000 on a polycarbonate lens can generate micro‑scratches that appear as halos at night. Stick to the three‑step progression and monitor the surface after each stage.
- Skipping the sealant: Without a UV‑blocking clear coat, the oxidation cycle restarts within weeks. Apply a dedicated headlight sealant or a thin layer of automotive clear coat after polishing.
- Using household abrasives: Aluminum foil or toothpaste may feel effective but lack the uniform particle size needed for a consistent finish, leading to streaks.
Adhering to the prescribed sequence and finishing with a UV‑resistant coating dramatically extends the restoration’s lifespan.
When Professional Services Make More Sense
Professional shops employ machine‑driven rotary buffers that can reach finer abrasives (up to 3000 grit) and cure a hardened clear coat under controlled temperature. Consider professional restoration if:
- The headlight exhibits deep pitting or discoloration beyond the surface layer.
- You lack the time or space to conduct a multi‑hour sanding and polishing process.
- Local regulations require a specific level of illumination for safety inspections.
Typical shop fees range from $80 to $150 per pair, a cost that often undercuts the price of a new OEM headlight while delivering comparable brightness when the job is done correctly.
Maintaining Restored Headlights: A Simple Routine
After restoration, schedule a quick maintenance check every three months:
- Wipe the lenses with a damp microfiber cloth to remove dust that can accelerate UV damage.
- Reapply a thin layer of UV sealant if the gloss begins to dull, usually after 50–60 hours of night driving.
- Avoid high‑pressure washers directly on the lenses; the force can erode the newly applied clear coat.
These habits preserve the clarity achieved during restoration and reduce the need for frequent rework.
Cost‑Benefit Analysis: Restoration vs. Replacement
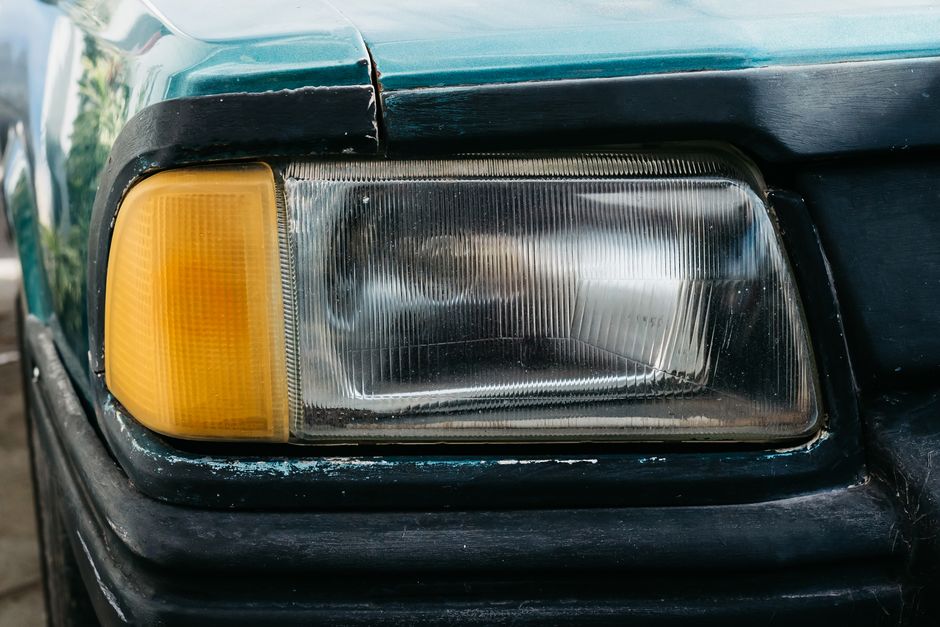
New polycarbonate headlights from an OEM dealer can cost $250–$400 per unit, not including labor. A successful DIY restoration typically requires an investment of $30–$50 in consumables, while professional services sit in the $80–$150 bracket. If the lenses are structurally sound, restoration offers a 70 %–80 % cost reduction and eliminates the downtime associated with ordering parts.
However, when the lens has sustained impact damage, the risk of future cracking rises dramatically, making replacement the safer economic choice despite the higher upfront expense.
Conclusion: Choosing the Right Path for Your Vehicle
Headlight restoration blends chemistry, precision sanding, and protective coating. A methodical DIY approach delivers results comparable to a shop when the damage is limited to surface oxidation. Recognizing the signs of deeper impairment and respecting the need for a professional clear coat ensures both safety and longevity. By integrating a modest maintenance schedule, drivers can keep their beams bright for years without recurring expense.

Comments (0)
No comments yet. Be the first to comment!
Leave a Comment