Understanding the Role of the Timing Belt
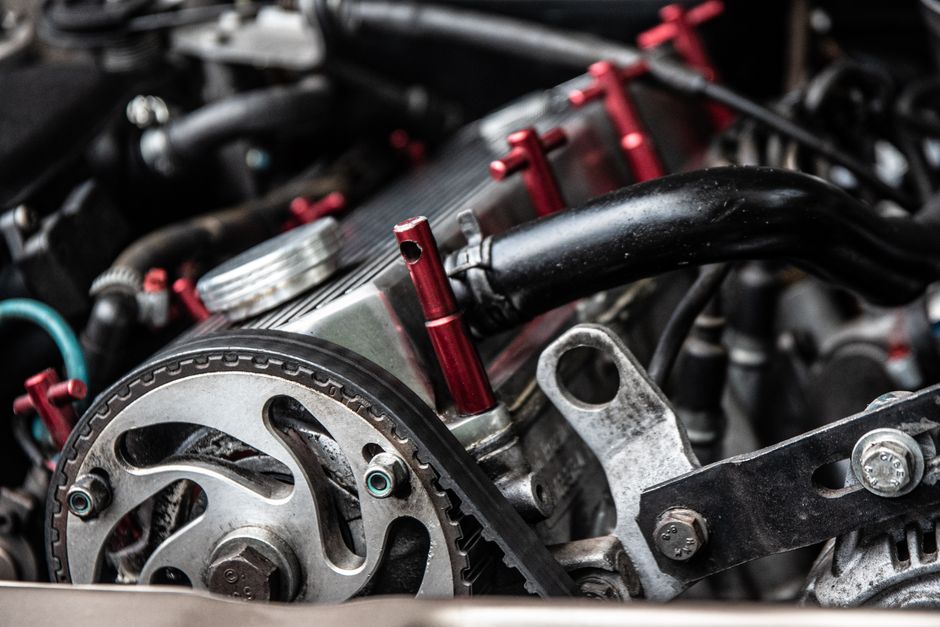
The timing belt synchronizes the crankshaft and camshaft rotations, ensuring that intake and exhaust valves open and close at precisely the right moments. In interference engines, a mis‑timed belt can cause pistons to strike valves, resulting in catastrophic damage. Unlike the accessory belt that powers the alternator or water pump, the timing belt bears the engine’s core timing integrity, making its condition a direct factor in engine reliability.
Identifying the Right Replacement Interval
Manufacturers typically specify replacement periods ranging from 60,000 to 100,000 miles (96,000–160,000 km) or every five to ten years, whichever comes first. The variance stems from differences in belt composition, operating temperature, and engine design. For example, a high‑performance V8 with a reinforced neoprene belt may tolerate the upper end of the range, while a compact four‑cylinder with a standard rubber belt should adhere to the lower limit. Recording the exact mileage at installation creates a reliable reference point for future maintenance.
Symptoms of a Worn Timing Belt
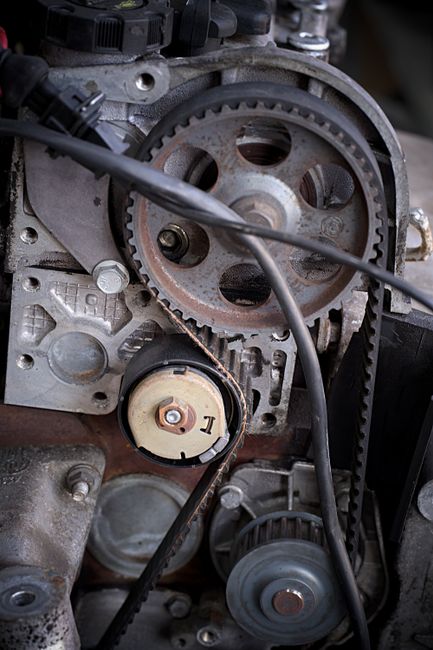
Early wear often manifests as a ticking or rattling noise emanating from the front of the engine, especially at idle. Visual inspection through the timing cover—if removable—may reveal fraying, glazing, or loss of tension. In some models, a timing belt tensioner equipped with a wear indicator will expose a groove worn into the pulley surface. A sudden loss of power, misfires, or the engine failing to start can also indicate that the belt has slipped or broken.
Preparing for a Replacement: Tools and Safety
Gathering the correct tools before beginning prevents interruptions that can compromise alignment. Essential items include:
- Torque wrench calibrated to the manufacturer’s specifications.
- Camshaft and crankshaft locking tools (often proprietary).
- Flat‑head screwdriver set for tensioner bolts.
- Engine support bar or jack stands if the vehicle must be lifted.
- Clean, lint‑free shop towels and a magnet for metal debris.
Disconnect the battery, raise the vehicle securely, and remove any components obstructing access to the timing cover—typically the air intake, radiator fan, and accessory belts. Labeling each removed part with zip ties and a marker simplifies reassembly.
Step‑by‑Step Replacement Procedure
1. Align the Engine to TDC
Rotate the crankshaft clockwise until the timing mark on the crank pulley aligns with the “0” or “TDC” indicator. Verify that the camshaft marks also coincide with their respective reference points. This dual‑mark confirmation eliminates the risk of the new belt being installed out of phase.
2. Secure the Camshaft and Crankshaft
Insert the camshaft locking tool into the designated slot on the camshaft sprocket; it prevents the camshaft from rotating while the crankshaft is turned. Apply the crankshaft locking tool to the crank pulley, ensuring it seats fully. These devices act as mechanical anchors, preserving the timing relationship throughout the belt removal.
3. Release Tension and Remove the Old Belt
Loosen the tensioner bolt using a socket wrench; the tensioner arm will pivot, releasing pressure on the belt. Carefully slide the belt off the pulleys, noting the routing pattern for reference. Inspect the tensioner pulley for wear; a grooved or cracked pulley warrants replacement alongside the belt.
4. Install the New Belt
Lay the new belt onto the crankshaft sprocket first, then guide it around each camshaft and auxiliary pulley, following the manufacturer‑provided diagram. Ensure the belt sits in the designated groove on each sprocket; a mis‑aligned tooth can cause premature wear.
5. Re‑tension the Belt
Re‑engage the tensioner by rotating its bolt clockwise until the prescribed tension is achieved—often measured by a specific deflection or by a tensioner spring’s resistance. Some models include a tensioner that self‑adjusts; in those cases, verify that the belt exhibits a slight give when pressed at the midpoint between pulleys.
6. Verify Alignment Before Final Torque
Rotate the crankshaft two full revolutions and re‑check the camshaft and crankshaft marks. Any deviation indicates a slipped belt; re‑apply tension and repeat the verification. Once alignment holds, remove the locking tools.
7. Reassemble and Test
Replace the timing cover gasket if it shows signs of deterioration; a new gasket prevents coolant leaks. Reinstall all previously removed components, reconnect the battery, and start the engine. Listen for abnormal noises and monitor coolant temperature for the first ten minutes of operation.
Common Mistakes and How to Avoid Them
Skipping the double‑check of TDC marks is a frequent error that results in a mis‑timed engine, often manifesting as rough idle or reduced power. Relying on a single torque setting for all bolts disregards the varying specifications for the timing cover, tensioner, and ancillary components; using a calibrated torque wrench eliminates this oversight. Additionally, installing a belt that is marginally longer than the OEM part can cause excess tension, leading to premature bearing wear. Measuring the belt’s length against the old belt before purchase mitigates this risk.
Timing Belt vs. Timing Chain: Decision Factors
While timing belts are replaceable accessories, timing chains are designed for the vehicle’s lifespan, lubricated by engine oil, and generally more durable. However, chains introduce higher noise levels and require a different tensioning system, often involving hydraulic tensioners that can fail. For owners of older models with belt‑driven systems, the cost of a chain conversion rarely outweighs the benefits; a disciplined belt‑replacement schedule remains the most economical path to reliability.
Cost Breakdown and Budgeting
Pricing varies by vehicle make and model. A standard aftermarket timing belt kit—including belt, tensioner, and water pump—averages $150–$250 in the United States. Labor rates for a professional shop range from $300 to $600, reflecting the average two‑hour labor time. High‑performance or luxury models may see kit prices exceed $400, with labor approaching $800 due to additional diagnostic steps. Budgeting for a complete replacement therefore typically falls between $450 and $1,000.
When to Seek Professional Assistance
Engines with limited clearance behind the timing cover often require specialized tools that are unavailable to most hobbyists. Vehicles equipped with dual‑timing belts, variable valve timing (VVT) systems, or integrated timing chain guides also demand expertise. If a diagnostic scan reveals error codes related to camshaft position sensors during the replacement process, a professional’s calibrated equipment can pinpoint the underlying issue more efficiently.
Maintenance Checklist After Replacement
- Record the mileage and date of installation in the vehicle’s service log.
- Inspect the tensioner pulley for smooth rotation after the first 100 miles.
- Verify coolant level and check for leaks around the timing cover gasket.
- Listen for any abnormal noises during a warm‑up cycle; note their frequency and location.
- Schedule the next belt inspection at the manufacturer‑recommended interval, not later than 12 months.
Following this checklist reinforces the longevity of the new belt and reduces the likelihood of unexpected failures and detailed walkthrough of timing belt replacement.

Comments (0)
No comments yet. Be the first to comment!
Leave a Comment